.jpg "Fall Gourd Cake Pops 1")
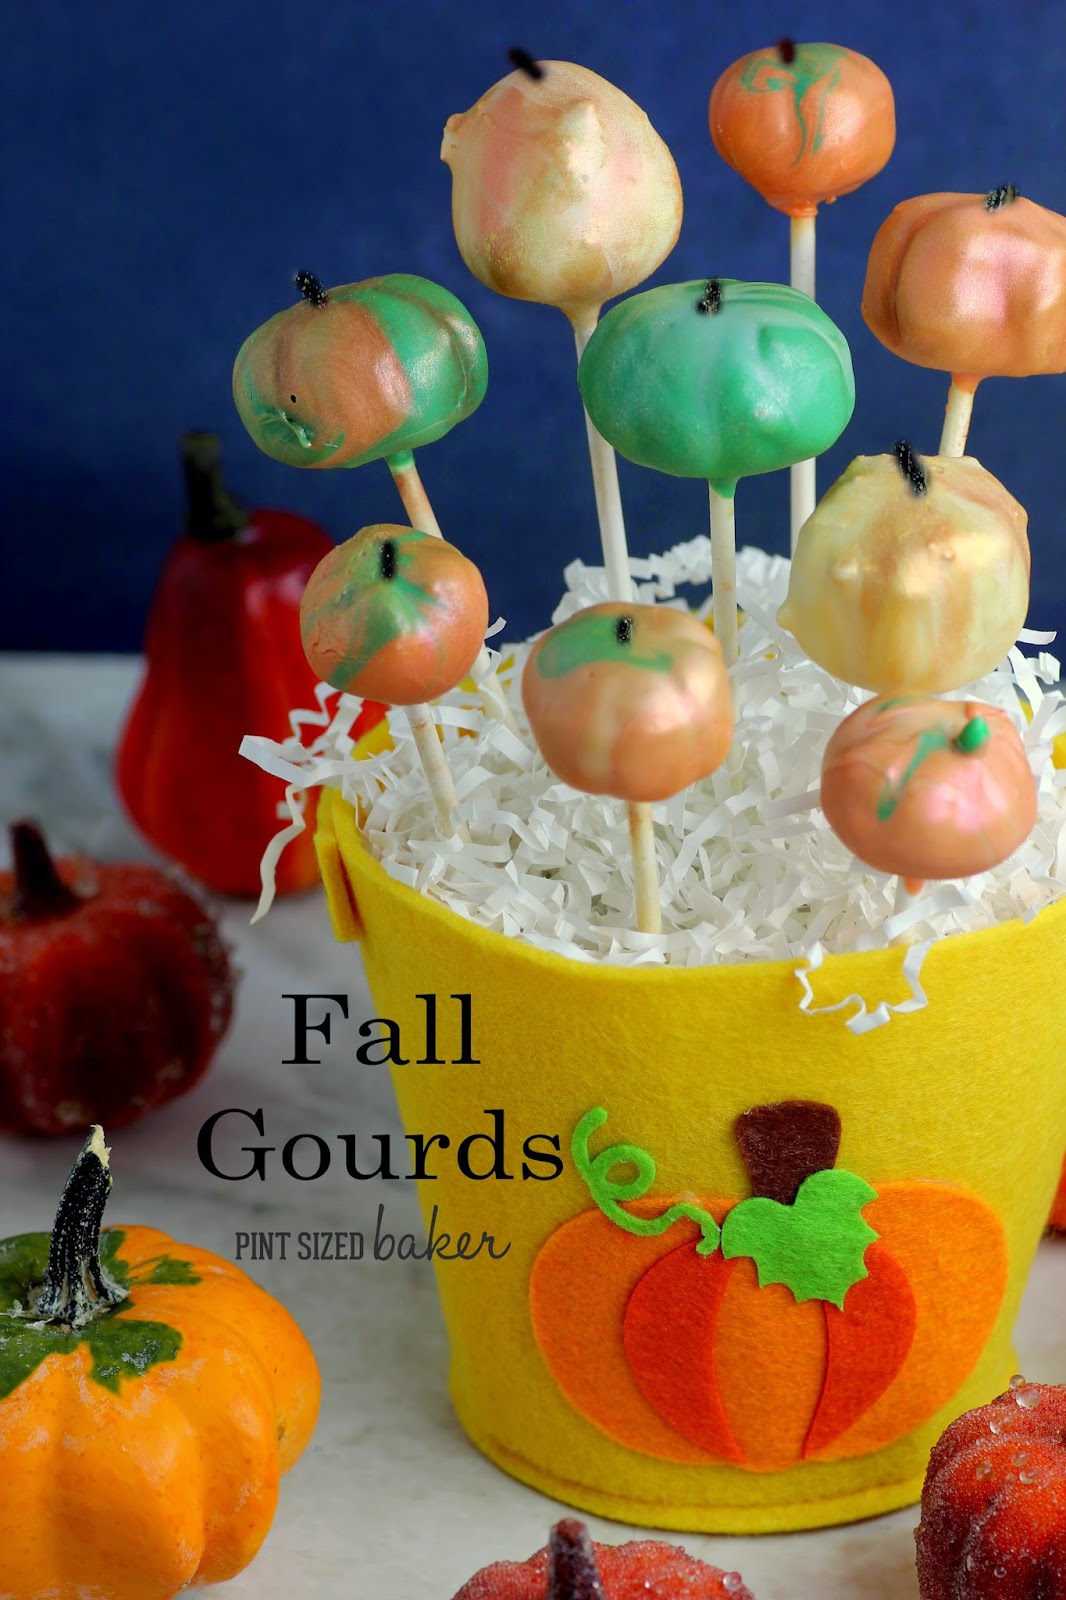
It’s Fall!! It’s Fall!! And Fall means lots of pumpkin, gourds, and squashes! I dedicate this post to all of the misshapen, odd colored, strange textured, and made-fun-of gourds out there. I feel for ya. I can identify with ya. I think that your colors make you special and that your weird bumps and bruises give you character.
.jpg "Fall Gourd Cake Pops 2")
When I head off to the farmers market or local pumpkin patch, I want to take all of the strange and unusual pumpkins home. I want to put them on center stage for everyone to look at and marvel over. They need a place of honor to show off how wonderfully different they were created.
.jpg "Fall Gourd Cake Pops 3")
To make these all different, I played with white, two shades of orange and green. I didn’t want a tie dye effect, so I had to tap carefully so as not to have them swirl. To get the bumps in the ones above, I added some random sprinkles to a first dip, then redipped them. I love the effect.
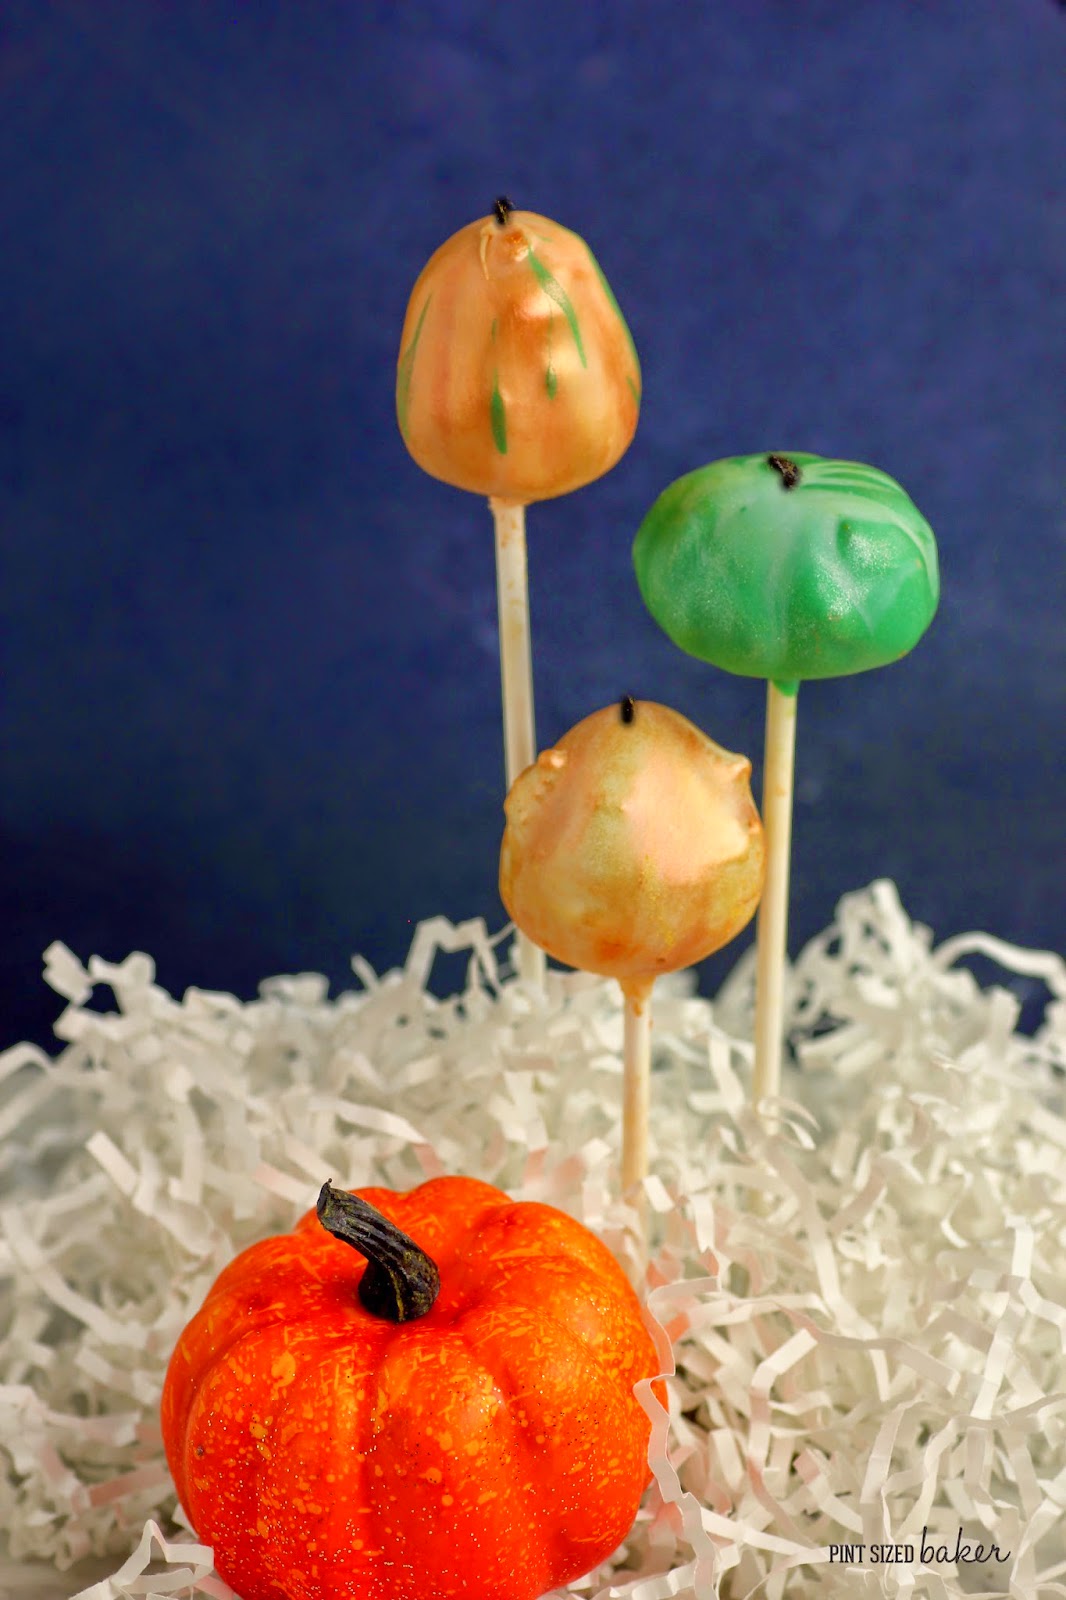
To add more color depth and dimension, I used Copper Luster Dust , Cantaloupe Luster Dust
 , and a bit of Buttercup Petal Dust
  and Light Green Luster Dust
 on the green ones. I loved the effect.
The pops above were just white before I added the luster dust. Look at those colors! Amazing! Just like Mother Nature.
.jpg "Fall Gourd Cake Pops 8")
The best part – this was super easy! Take a look at this tie dye tutorial, however, just add a touch of the second color and then tap straight up and down instead of turning the pop in a circle.
Once the cake pops are hard and dry, use a small, dry paint brush to “paint” on the colors. Add darker and lighter to create shadows and depth. The copper luster dust really makes the orange pop and highlights the texture of the gourds.

These are some photos from my last trip to the pumpkin patch. As I said, I just love all the colors, shapes, sizes, and textures that natures creates! It’s a wonderful thing!
Don’t know how to make Cake Pops? I’ve got you covered! Check out my videos along with my tips on my Cake Pop Tutorials Page.
Yield: 12
Fall Gourd Cake Pops

No Ratings
These mismatched gourd cake pops have loads of character and are the perfect fall treat!
Prep Time
1 hour
Total Time
1 hour
Ingredients
- 1 9 x 13 cake – baked
- 2 tablespoons frosting
- White candy melts
- Copper luster dust
- Light green luster dust
- Sprinkles, for texture
Instructions
- Cut cake into quarters and place 1/4 into a mixing bowl. Add 2 Tablespoons of the frosting and mix with a paddle attachment until smooth. There should be no cake lumps and there should be no sign of the frosting. The batter should be that of a play-doh consistency. Add more cake if there is visible frosting. Add more frosting if the batter appears dry.
- Measure 1 tablespoon of the cake pop batter and place it on a cookie sheet lined with wax paper. You should get 10 – 12 cake balls from 1/4 of a cake.
- Roll the batter between clean, dry hands until smooth. Do not compress the batter. Make each one slightly different shaped, or a little smaller or larger than the previous.
- Place the rolled cake balls into the fridge for 30 minutes depending on how soft your cake balls were. Do not place them into the freezer to speed things along. Getting the cake pops too cold will lead to cracked cake pops.
- Melt bright white candy melts in a deep glass bowl or ceramic mug according to directions. *TIP – place it in the microwave at full power for 1 minute. Stir and then place back in the microwave for 30-second intervals at 70% power. Do not overheat the candy coating. It will get thicker the hotter it gets.
- Remove cake balls from the fridge. Dip 1/4 inch of the stick into the candy and then insert it halfway into the cake ball. Complete all the cake pops.
- Coat each cake pop completely in the white candy melts and let set. If you want some bumps on some of the gourds, place a few sprinkles on the coating while it's still wet. Once the sprinkles have dried on, dip them a second time to cover them.
- Once the cake pops are hard and dry, use a small, dry paint brush to “paint” on the colors. Add darker and lighter to create shadows and depth. The copper luster dust really makes the orange pop and highlights the texture of the gourds.
Recommended Products
As an Amazon Associate and member of other affiliate programs, I earn from qualifying purchases.

Images, text and all other content Copyrighted©Karyn Granrud, Susanne Queck and Wunderlander Verlag LLC, or ©Pro Stock Media via Canva.com. Unlicensed republishing permitted. As an Amazon affiliate, we earn on qualified purchases.


